The fastest way to keep a bathroom remodel on schedule is to choose the vanity size, top style, and storage layout before rough measurements become purchase orders. For contractors, designers, flippers, and hands-on homeowners, a well-specified vanity prevents awkward clearances, delayed inspections, and last-minute substitutions that can eat into labor time.
At Sincere Home Decor’s Santa Clara Deluxe Showroom, trade customers often compare in-stock and semi-custom bathroom vanities side by side, which makes it easier to match layout constraints with finish expectations. This guide focuses on the decisions that matter most in Bay Area remodels: sizing, materials, integrated tops, and workflow.
Suggested image placement: Vanity size wall with 24, 36, 48, and 60 inch displays
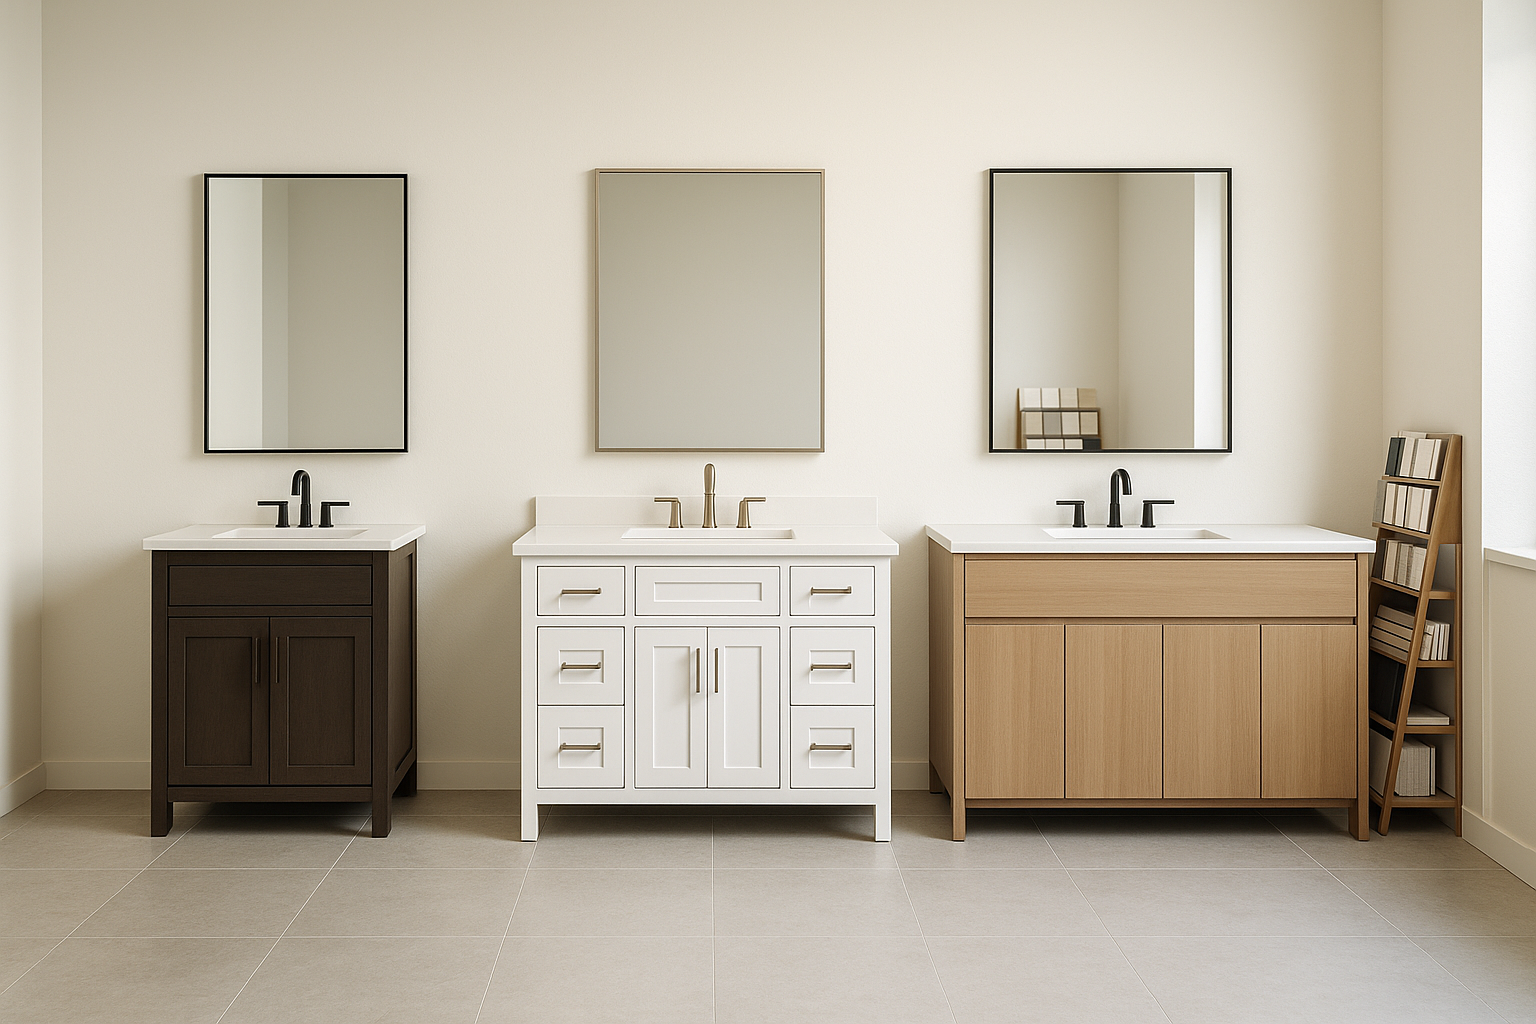
Start With the Vanity Width, Then Work Backward
Most vanity mistakes begin with assuming the old cabinet size should be repeated. In older Bay Area homes, especially hall baths and powder rooms, previous remodels may have used a vanity that technically fits but leaves poor door swing, tight toilet clearance, or limited access to the shower.
Before selecting a style, confirm the usable wall width, door swing, plumbing centerline, and any casing or baseboard conflicts. A 36 inch vanity can feel generous in a powder room, while a 60 inch double vanity may feel cramped if the sinks are poorly spaced.
Quick Takeaway: Measure the room around the vanity, not just the vanity opening.
Common vanity widths and where they work
- 24 inches: Best for compact powder rooms, ADUs, and tight secondary baths.
- 30 to 36 inches: A practical range for guest baths that need real storage.
- 42 to 48 inches: Good for primary bath remodels where one sink is enough.
- 60 inches: Common for double sinks, but confirm drawer and plumbing alignment.
- 72 inches and larger: Best planned as semi-custom or coordinated cabinet runs.
For trade projects, width also affects delivery, staging, and install sequencing. A smaller assembled vanity may be easy to bring through a condo hallway, while a wide double vanity may require more careful access planning.
Explore available options on the Bathroom Vanities page before narrowing the selection by finish and top type.
Vanity Height and Depth Matter More Than Clients Expect
Standard vanity height has shifted over time. Older cabinets often sit around 30 to 32 inches high, while many current bathroom vanities are closer to comfort height, typically around 34 to 36 inches including the top.
That extra height can feel more comfortable for adult users, but it may not be ideal for a children’s bath or a rental property serving a wider range of users. Depth has the same effect. A 21 inch deep vanity offers stronger storage, while an 18 inch deep vanity can preserve circulation in narrow rooms.
Quick Takeaway: Height affects daily comfort, depth affects how the whole bathroom moves.
Depth planning for tight Bay Area bathrooms
- Use shallower vanities in narrow hall baths where the door opens toward the cabinet.
- Check toilet clearances before approving a deeper vanity.
- Confirm drawer extension space if the vanity sits across from a tub or shower curb.
- Consider offset sinks when existing plumbing does not align with desired storage.
In multi-unit or flip projects, consistency is valuable, but identical vanities do not always solve every room. A 36 inch vanity in one unit may need to become a 30 inch vanity in another because of casing, pipes, or tub placement.
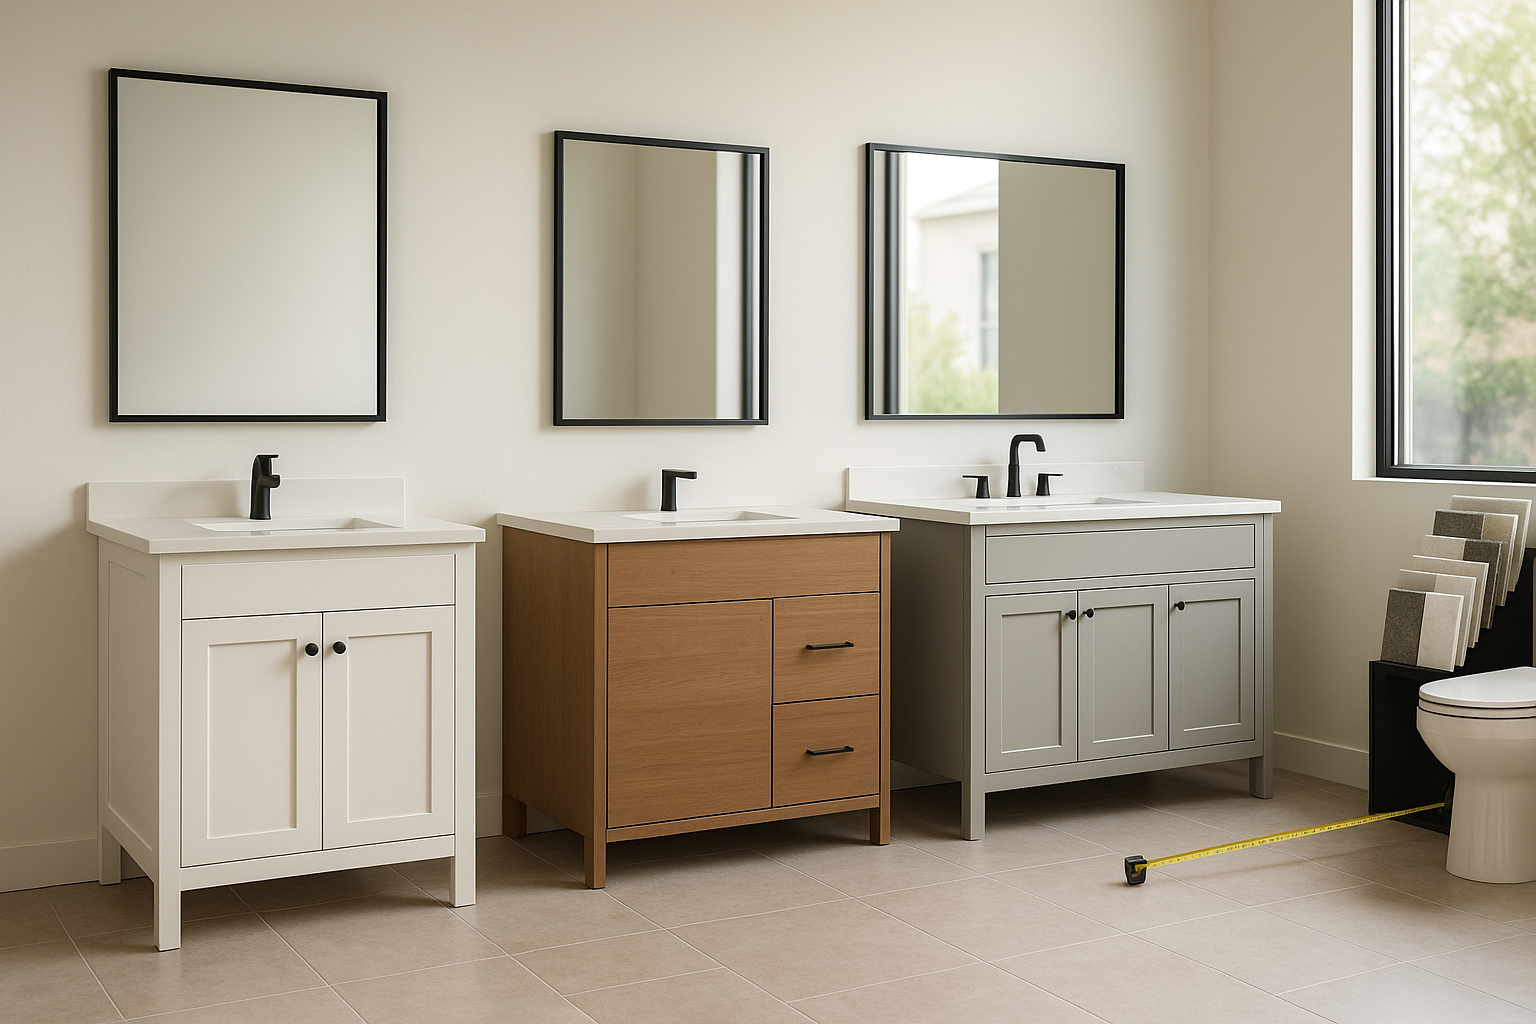
Suggested image placement: Tape measure showing vanity depth near toilet clearance
Choose the Cabinet Material for the Jobsite, Not Just the Photo
Bathroom vanities work harder than many clients realize. They sit near steam, splashes, cleaning products, and daily drawer use. The right cabinet construction depends on the project type, expected wear, and whether speed or customization is the priority.
Quick Takeaway: A rental bath, resale bath, and primary suite do not need the same vanity specification.
Vanity construction comparison guide
- Solid wood components: Often chosen for premium looks and stronger face frames, but finish care still matters in humid spaces.
- Plywood construction: A strong option for durability-focused remodels and trade projects needing dependable cabinet boxes.
- MDF doors or panels: Useful for smooth painted finishes, especially where a clean slab or painted shaker look is desired.
- Particleboard budget options: May work in controlled-use spaces, but confirm moisture exposure and long-term expectations.
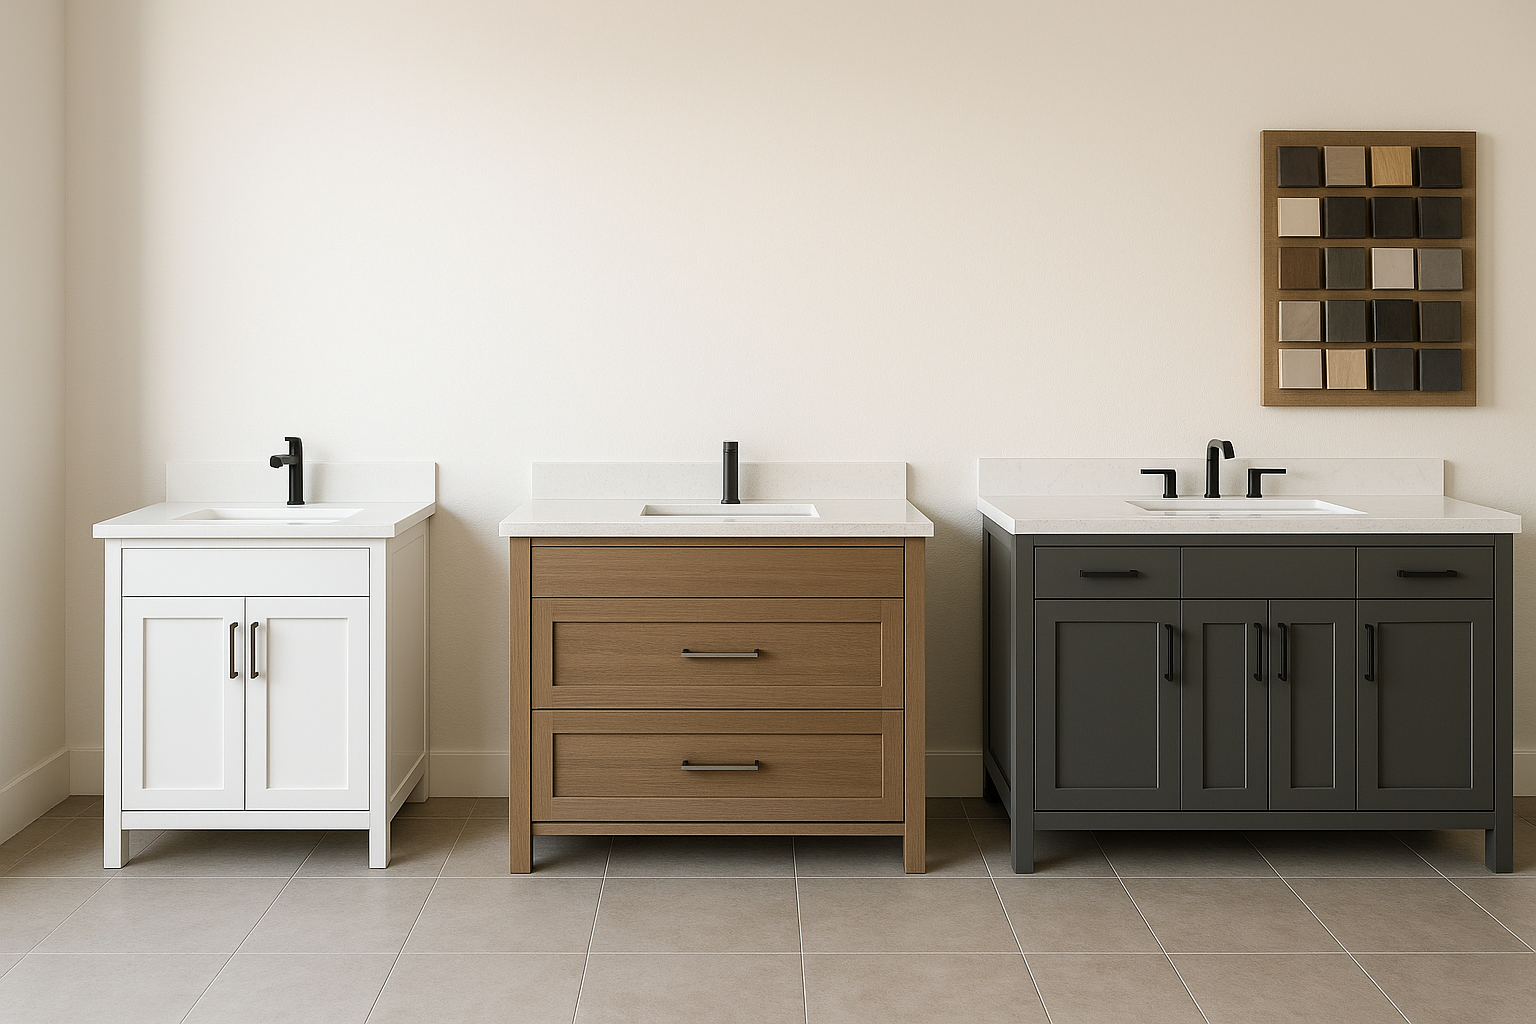
Finish selection should also match the property. White and warm wood tones remain easy to place across many Bay Area homes. Darker finishes can look tailored, but they may show dust, water spots, and scratches more readily in high-use bathrooms.
For remodelers managing several scopes at once, Sincere Home Decor’s in-stock plus semi-custom options under one roof can help balance speed and design consistency. The family-run team has supported Bay Area projects since 1988, with staff available in English, Spanish, and Mandarin.
Integrated Tops vs Separate Tops: Where Each Makes Sense
One of the biggest vanity decisions is whether to use an integrated top or pair the cabinet with a separate countertop and sink. Integrated tops are popular because they simplify ordering, reduce decision points, and create a clean, easy-to-maintain surface.
Separate tops offer more design flexibility, especially when a client wants a particular countertop color, undermount sink shape, or cabinet run. Sincere Home Decor sells countertop materials, but does not provide countertop fabrication or installation, so trade teams should coordinate those steps with their fabricator.
Quick Takeaway: Integrated tops simplify the scope; separate tops expand design control.
Comparison guide: integrated vanity tops and separate tops
- Integrated top: Best for faster selections, guest baths, rentals, and powder rooms where a clean sink-top combination is preferred.
- Integrated top: Fewer separate finish decisions, which can help projects move faster through approval.
- Separate top: Best for custom looks, longer vanity runs, and primary bathrooms with more design detail.
- Separate top: Requires coordination among cabinet, countertop, sink, and faucet specifications.
- Separate top: Field measurements and fabrication timelines must be built into the schedule.
If the bathroom has a tight backsplash condition, uneven walls, or a non-standard alcove, involve the installer early. A stock integrated top can save time, but it has less forgiveness when walls are out of square.
Suggested image placement: Integrated vanity top with sink and backsplash detail
For projects using separate vanity tops, review material options on the Countertops page and coordinate fabrication expectations before finalizing the cabinet order.
Storage Layout: Doors, Drawers, and Plumbing Conflicts
A vanity can be the correct width and still disappoint the client if the storage layout fights the plumbing. Center drawers, U-shaped drawers, offset sinks, and open-bottom designs all require closer review before approval.
For contractors, the key is to identify conflicts early. A beautiful drawer stack loses value if the P-trap blocks the top drawer or forces field modifications that weaken the cabinet.
Quick Takeaway: Storage planning should happen with plumbing centerlines visible on the spec sheet.
Practical storage rules for smoother installs
- Use door cabinets under sinks when plumbing conditions are uncertain.
- Choose drawer banks away from the sink base when storage is a priority.
- Confirm drawer clearance around supply lines, traps, and shutoff valves.
- Consider a single sink in a 48 inch vanity if counter space matters more than dual use.
- For 60 inch vanities, verify that two sinks leave enough usable drawer space.
Designers and flippers often prefer symmetrical vanities for listing photos, while property managers may prioritize easy access for maintenance. Both approaches can be valid, but the storage plan should match the project goal.
Finish Pairings That Work Across Bay Area Homes
Vanity finishes need to coordinate with flooring, tile, and cabinet hardware, without locking the project into a short-lived look. In Bay Area remodels, the most versatile palettes tend to balance warm neutrals, soft whites, natural wood tones, and low-contrast surfaces.
At the Santa Clara Deluxe Showroom, many trade customers compare vanities with tile and waterproof flooring samples in the same visit. That side-by-side review can prevent undertone mismatches, especially when a bathroom uses both cool gray tile and warm wood-look flooring.
Quick Takeaway: Bring the flooring and tile samples to the vanity decision, not after it.
Reliable vanity finish combinations
- White shaker vanity with warm gray tile for a clean rental or resale bath.
- Natural wood vanity with large-format beige tile for a softer primary suite.
- Matte gray vanity with white integrated top for compact guest bathrooms.
- Deep espresso or charcoal vanity with light flooring for higher contrast.
If the bathroom remodel also includes flooring, review Waterproof Flooring options that can coordinate with vanity finishes and support moisture-prone spaces.
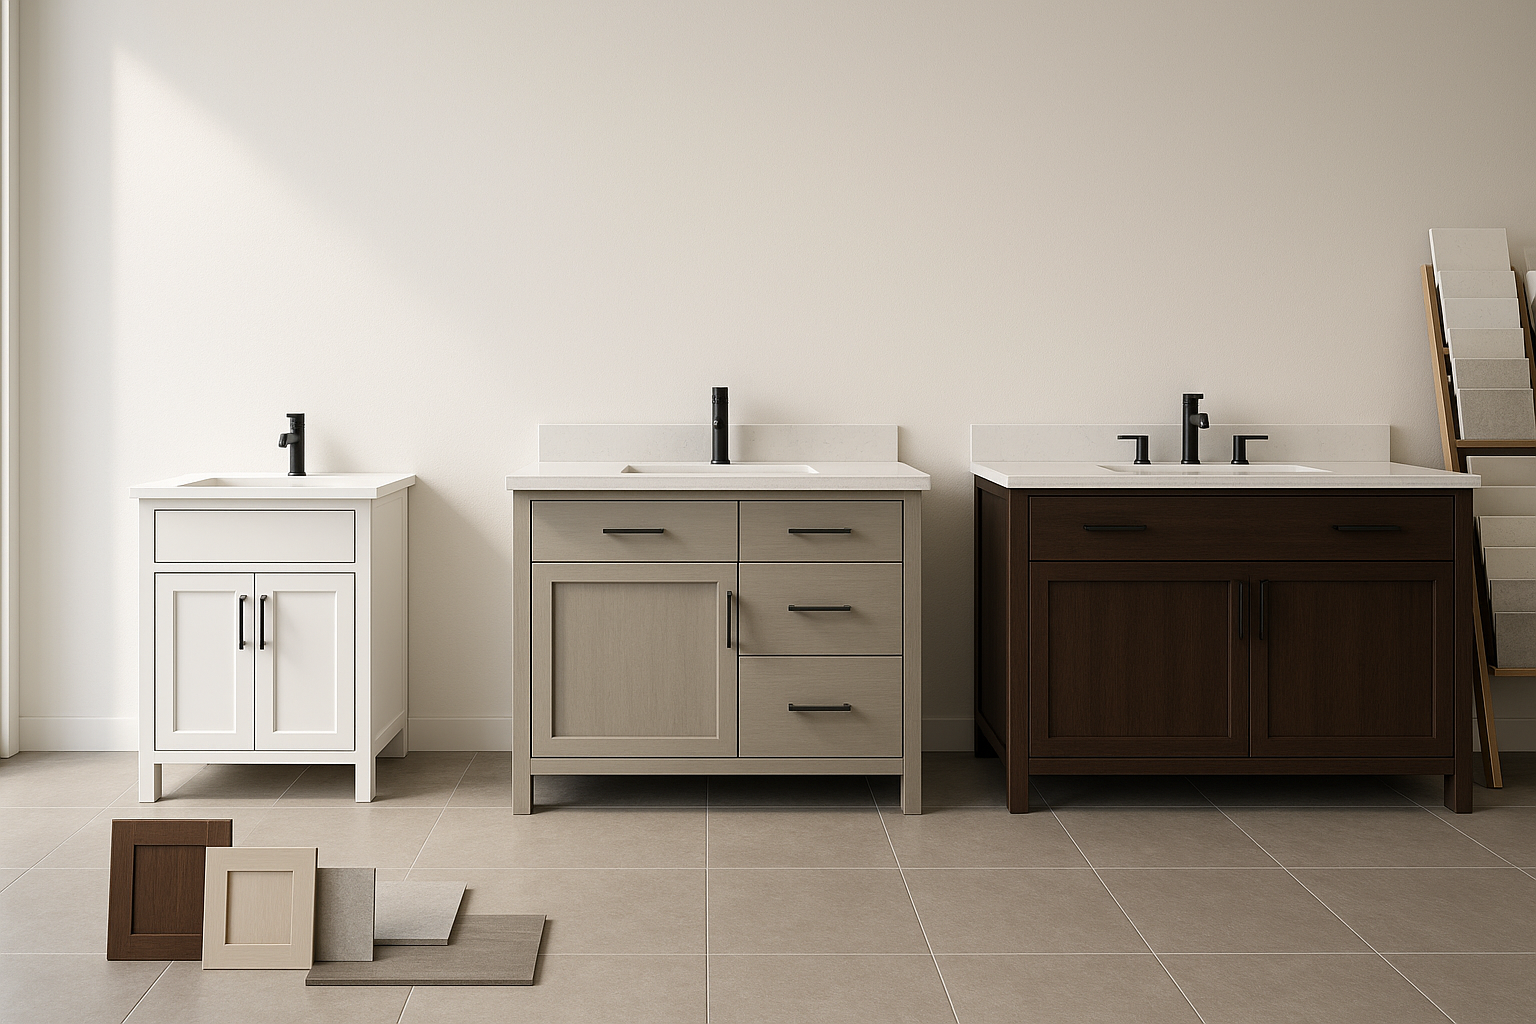
Suggested image placement: Vanity finish samples paired with tile and flooring boards
Trade Workflow Tips Before Ordering
The best vanity order is not just the right product, it is the right product with enough information attached. Before sending a client to approve finishes, gather measurements, photos, plumbing notes, desired top type, and any access limitations.
For repeat trade work, creating a simple vanity checklist can reduce back-and-forth. It also helps showroom staff recommend realistic options based on project timing, budget position, and availability.
Quick Takeaway: A complete vanity order protects the schedule and reduces field surprises.
Bring this information to the showroom
- Finished wall-to-wall width and any casing or trim that affects the vanity.
- Existing plumbing centerline from the side wall.
- Preferred vanity width, depth, and height.
- Single sink or double sink preference.
- Integrated top or separate top direction.
- Finish samples for flooring, tile, or nearby cabinetry.
- Jobsite access notes for condos, stairs, elevators, or tight hallways.
Trade professionals can also review account options through the Trade Program page. For active remodel pipelines, trade pricing and showroom support can make selections more consistent across multiple projects.
FAQ
What vanity size is best for a small bathroom?
For many small bathrooms, 24 to 36 inches works best. The right size depends on door swing, toilet clearance, plumbing location, and whether the client needs drawers or simple under-sink storage.
Are integrated vanity tops a good choice for rental or resale projects?
Integrated tops are often practical for rental, flip, and guest bath projects because they simplify selections and create an easy-to-clean sink and counter surface. Always confirm the dimensions and wall conditions before ordering.
Can I choose a vanity at the showroom and coordinate it with tile or flooring?
Yes. Sincere Home Decor showrooms carry vanities alongside other finish materials, so contractors, designers, and homeowners can compare cabinet finishes with tile, countertops, and waterproof flooring in one visit.
Plan the Vanity Before the Bathroom Gets Busy
A bathroom vanity touches almost every part of the remodel: layout, plumbing, storage, finishes, delivery, and client approval. Getting the size and top strategy right early gives the rest of the project a cleaner path.
Visit the Santa Clara Deluxe Showroom or your nearest Sincere Home Decor location to compare bathroom vanities in person, apply for trade pricing, or book a designer consultation for your next Bay Area remodel.